

Rebuilding A 1979 Tracker II into a modern Duck Boat
- Cody W
- Dec 15, 2025
- 3 min read

At the close of the 24 Duck Season I got a wild hair and decided to buy a 1979 Tracker Model II with a 83 Mercury 40 on it.
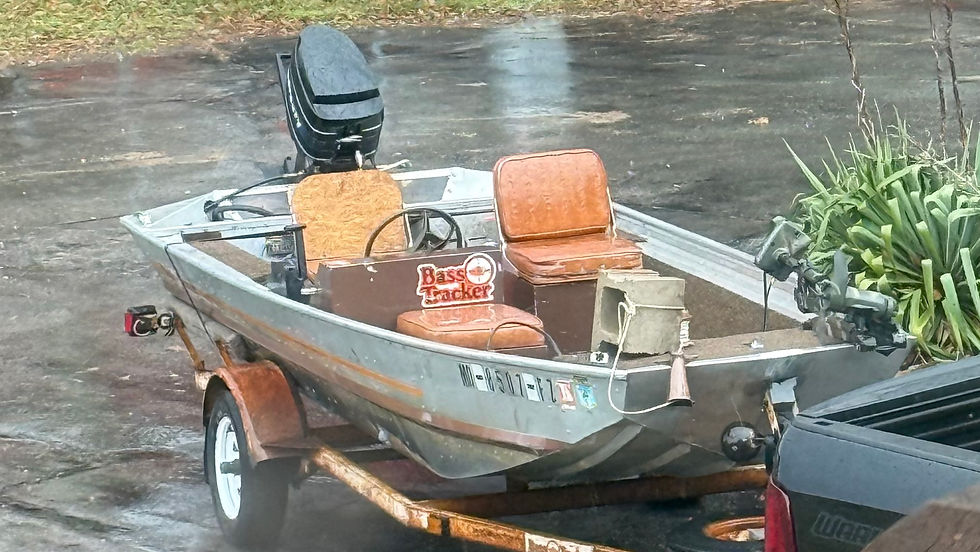
It ran but it didn’t run well, the compression was good, the transom was rotted. Yet for some reason I decided to go forth with it anyway. Fortunately it became a project for my dad and I… he generally doesn’t let me fall into fun rabbit hole projects on my own.
Part 1 - Breakdown
To start it off We had to break it down And that was a ton of work! The amount of foam dust I was cleaning out of my beard was unreal. We ripped it down to its skin and ripped out the transom to get ready for “reassembly”.


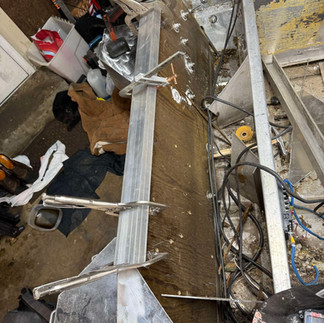
Part 2 - Transom
With all that carpet and old rot out it was time to move onto the transom! We used a pre-glued transom to get it to size then traced it out and made our cuts followed by a ton of 3m 5200 to seal the holes where the new transom bolted up to.


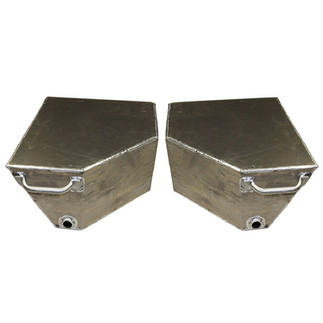
Part 3 - Float Pods & Welding
At this point we are getting pretty invested, so why not go all out. I slapped some Beavertail Small Float Pods on the stern and welded them on, just after that we welded the transom in with new caps.


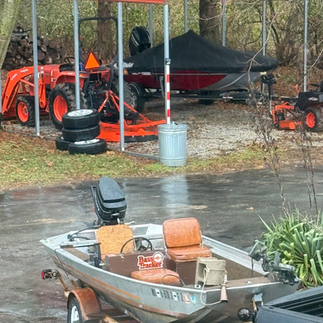
Part 4 - Trailer
The trailer that came with the boat had some issues, it wasn’t worth fixing for me so I snagged a $500.00 Facebook marketplace tilt trailer which I was super excited about since it could launch anywhere. I put another $300.00 into a 2” ball coupler, new bunks, bigger wheels, new lights and fenders then called it a day.


Part 5 - Paint
With the boat off the trailer we needed to get the hull painted. My buddy Dalton with Hood’s marine came over and helped me knock that out. We used Duck Boat Drab from Duralux after priming it with self etching primer.


Part 5 - Deck
Next up was getting the deck of the boat situated, Dad and I used 5/8” marine grade plywood cut and riveted down which was pretty straightforward.


Part 6 - Interior Coating
With the deck all put together it was time to get the boat over to Hood’s marine where he applied some olive green Raptor liner.


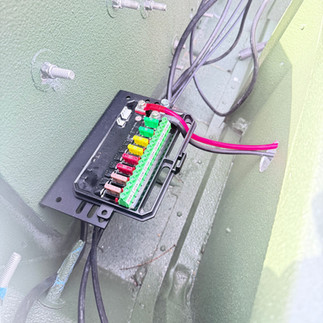
Part 7 - Reassembly
The part I was waiting for so patiently was putting it back together. I ordered some new seat boxes and a RPod Console to give it a fresh look the ran wiring up to the bow to feed the lighting circuits and installed a marine grade switch controller, then a Garmin UHD 7” Chartplotter/Sonar. Last we ran the new steering cable and reinstalled the motor.


Part 8 - Lights and Blind
At this point we knew it ran but definitely needed a new Carb Kit. So while waiting for the parts to arrive we continued re-assembly with lights from our sponsor at Baja Designs as well as another Beavertail product (the blind.) At this point it’s pretty late in season so we’re not going to brush it in yet. That carb kit should be in any day so we will have some more updates to the thread later this week… I also need to mount the seats onto the boxes!


Part 9 - What’s Next
At this point this section is getting smaller and smaller which I’m really grateful for! It’s been fun but I’m ready to enjoy the boat.
Hookup both 1100 GPH bilge pumps
Wire in NOCO 2 bank charger
Install 100AH lithium battery into bow cavity
Install MinnKota Terrova
Install Aft Lights
Bolt seats onto boxes
Carburetor Job
Comments